Guide
Tiling around a bath: fit it first, then tile
Fit, level and test the bath before any wall tiles go on, then tile down onto the bath rim, not behind it, leaving a few millimetres for a bead of sanitary silicone. If there is a shower over the bath, the walls it wets are tanked before tiling.
Updated
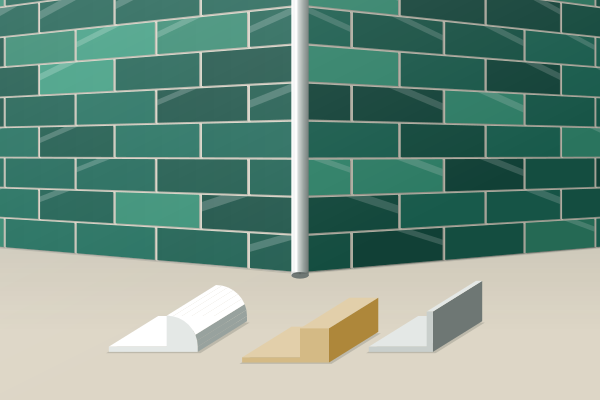
Bath first, tiles second
The bath goes in before the wall tiles. It is set on its feet or cradle, levelled along its length and across, fixed to the wall where its maker says, connected and checked for leaks. Only then do the tiles come down to finish just above the rim. Done the other way round, with tiles first and the bath pushed in beneath them, the gap left is filled with a wide, unsupported bead of silicone that splits, and water runs down behind the bath.
Do you tile behind a bath?
No. The wall tiles stop at the bath and overlap its rim: the bottom row sits a few millimetres above the rim, so the tile face finishes over the bath's raised back edge (the upstand) rather than disappearing behind it, and any water running down the tiles lands in the bath. The wall below the rim, hidden behind the bath, is not tiled. In a shower area it should still be waterproofed down to the rim, with the joint between bath and wall sealed with a tape or seal strip made for it before tiling starts.
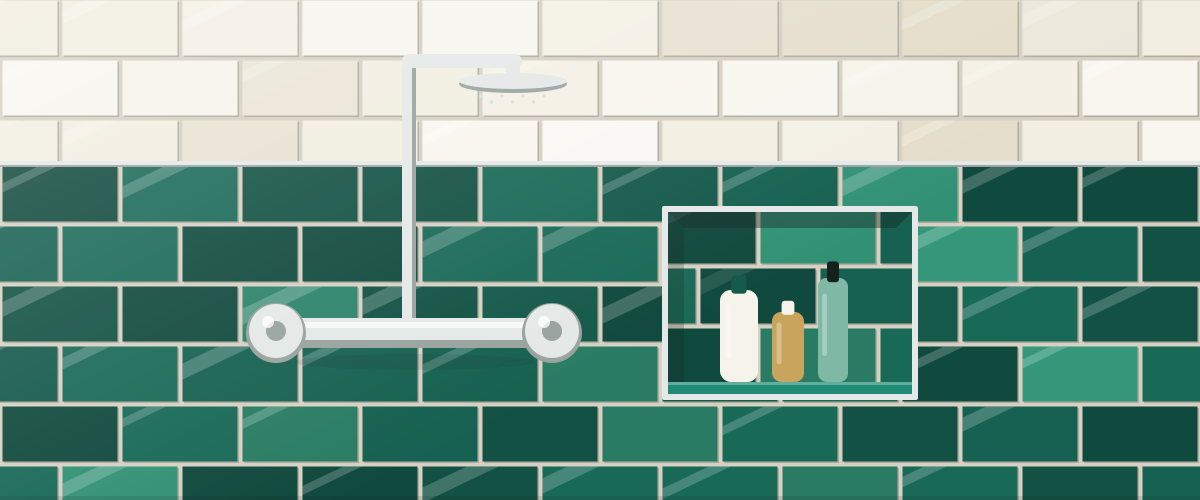
Setting out the first row
A bath is rarely perfectly level along a wall, and walls are rarely square, so the bottom row is not where the tiling starts. Instead a straight timber batten is fixed level, one tile height plus the gap above the rim, and the walls are tiled upwards from it. Once the adhesive has set, the batten comes off and the bottom row is cut to fit the space above the rim, each tile measured where it will sit. That keeps the rows above level even if the bath is not, and puts any taper in the row nearest the bath, where it shows least. Plan the layout so the cuts at each end land in the corners, not as thin slivers at the open end of the bath.
The open end and outside corners
Where the tiling stops at the open end of a bath, or turns round an outside corner by a boxed-in pipe, the edge shows. It needs a trim or a finished tile edge rather than a raw cut, and the trim is fixed as the tiles go on, not added afterwards. A trim along the upper edge does the same job where the tiles stop part way up a wall. The guide to tile trims covers the profiles.
The silicone joint
The joint between the bottom row and the bath is never grout. A bath shifts slightly when it fills and when someone steps in, so the joint needs sanitary silicone, which stays flexible and contains a mould inhibitor. Run it with the bath full of water, so the bath has settled to its lowest point, and leave the water in until the silicone has cured. Mask both edges for a straight line and tool the bead smooth in one pass. Where the tiles meet a shower screen or the bath panel, the same applies. When silicone turns black, cut all of it out, clean and dry the joint and run a new bead; fresh silicone will not bond over old. The guide to cleaning grout and mould covers the tiles around it.
A shower over the bath
A shower over a bath wets far more wall than a bath alone. The walls round it are treated as a shower area: tanked with one waterproofing system before tiling, with internal corners and pipe entries taped, and tiled at least to the height of the shower head. Use a flexible cement-based adhesive and a grout suited to wet areas, and fit a screen that sheds water back into the bath. The tanking guide explains what goes behind the tiles.
Tiling a bath panel
A tiled bath panel looks built in, but it needs a rigid base: moisture-resistant board or tile backer board on a frame fixed to the floor, not the flexible panel the bath came with. Leave an access panel, tiled onto a removable board or held with magnets, so the waste and the taps can be reached without breaking tiles. Where the panel meets the floor and the underside of the rim, the joints are silicone, not grout.
Where it fits in the room
In a typical bathroom the order runs: bath and tray in and tested, tanking, wall tiles down to the rim, floor tiles, grout, then silicone. Some fitters tile the floor where the bath will stand before it goes in; most stop the floor tiles at the bath panel. Decide before the bath is fitted, because it fixes the floor height at the panel. The full sequence is in how to tile a bathroom, and the job is priced as bathroom tiling or, for the walls round a bath alone, as wall tiling.
Common questions
Do you tile before or after fitting a bath?
After. The bath is fitted, levelled and tested, then the wall tiles finish down onto its rim, and the joint between them is sealed with silicone.
How big a gap should there be between tiles and bath?
A few millimetres, enough for a silicone bead to bond to both surfaces. The bottom row is cut to fit above the rim after the rows above it are tiled.
Should you grout or silicone where tiles meet the bath?
Silicone. A bath moves as it fills, so grout there cracks; sanitary silicone flexes and resists mould.
Do you need to tank around a bath?
If there is a shower over it, the walls it wets should be waterproofed before tiling. A bath with no shower needs a sound seal at the rim rather than full tanking.